Needlepoint is back — and no, it’s not just for grandmothers. This relaxing and creative craft has surged in popularity thanks to its modern designs, soothing rhythm, and accessible learning curve. But if you're new to stitch art, you might be wondering: how do I actually start?
This is your no-fluff, beginner-friendly guide on how to needlepoint — perfect for crafters of all ages with zero experience. We’ll cover tools, basic stitches, what to avoid, and fun starter projects. Let’s thread the needle and begin.
Table of Contents
- What Is Needlepoint? (Quick Recap)
- What You Need to Get Started
- Step-by-Step: How to Needlepoint
- Common Beginner Mistakes to Avoid
- Recommended Beginner Projects
- FAQs
What Is Needlepoint? (Quick Recap)
Needlepoint is a form of stitch art that involves stitching thread onto a mesh canvas using specific patterns and techniques. Unlike embroidery or cross-stitch, needlepoint uses a stiffer canvas and often relies on simpler, more repetitive stitches — making it ideal for beginners.
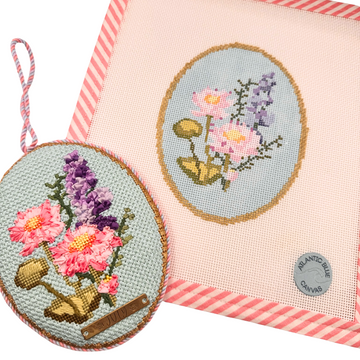
Designs may be printed directly on the canvas or followed using a chart. Whether you’re creating a keychain, ornament, or heirloom pillow, every stitch brings you one step closer to something handmade and personal.
While it shares similarities with embroidery and cross-stitch, needlepoint is distinct in its canvas, stitch methods, and thread types. The structure of needlepoint allows for a meditative, relaxing experience that’s perfect for anyone looking to unplug and unwind.
What You Need to Get Started
Before you learn how to needlepoint, here’s what to gather. These are the essentials used in most beginner needlepoint kits:
You’ll Need:
- Tapestry Needle – Blunt-ended, perfect for canvas
- Mesh Canvas – 13-mesh is ideal for beginners due to its larger holes
- Thread – Wool, cotton, or perle cotton; usually provided in kits
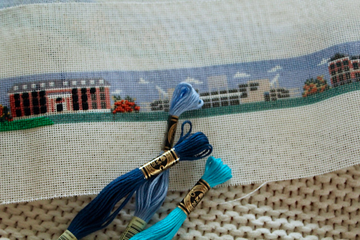
- Beginner Needlepoint Kit – Includes the above and a printed canvas design
- Scissors – Small, sharp scissors to cut thread cleanly
- (Optional): Stretcher bars, frame, or stand to hold your canvas taut
These supplies will get you started without overwhelming you. Choosing a beginner kit means you don’t have to worry about matching thread colors or calculating mesh count.
Step-by-Step: How to Needlepoint
Step 1: Choose Your Design or Kit
Select a canvas with clear, bold lines and a limited color palette. For your first project, aim small: ornaments, bookmarks, or simple shapes work best. We recommend starting with a curated beginner needlepoint kit so you have everything you need.
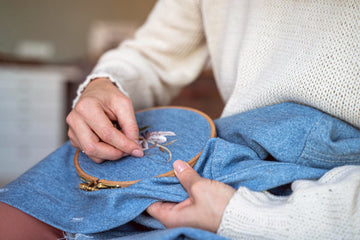
Step 2: Thread the Needle
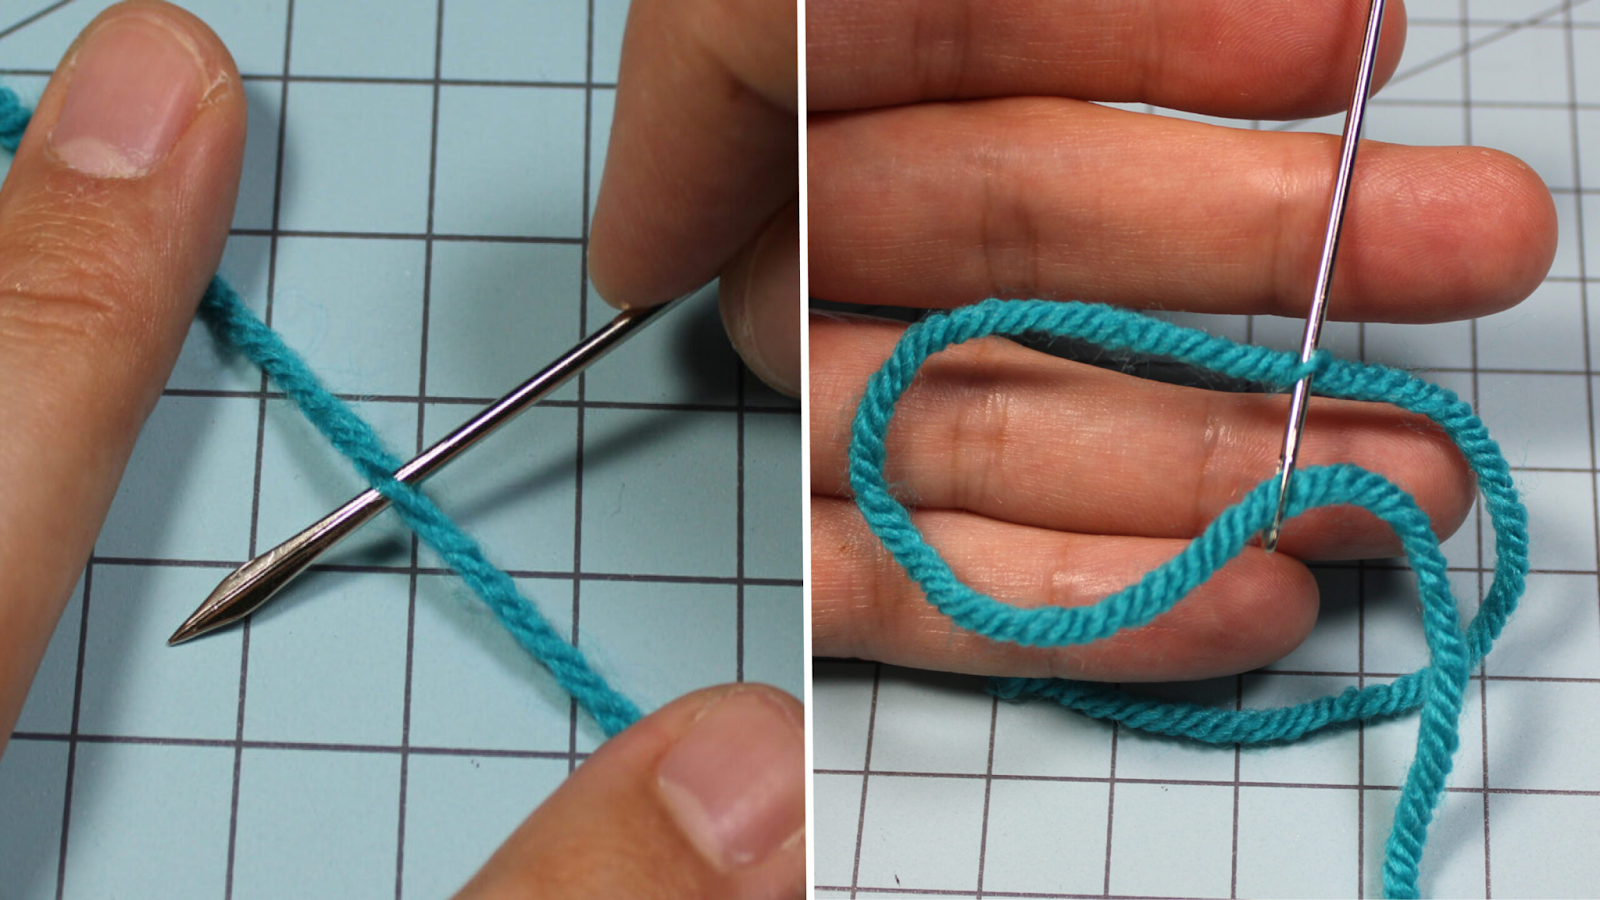
Cut about 18 inches of thread. Thread your needle (use a threader if needed), and leave a short tail at the end. There’s no need to knot it — just anchor it under your first few stitches. This will keep your back neat and your work secure.
For help, see our full guide on how to thread the needle.
Step 3: Start with a Simple Stitch
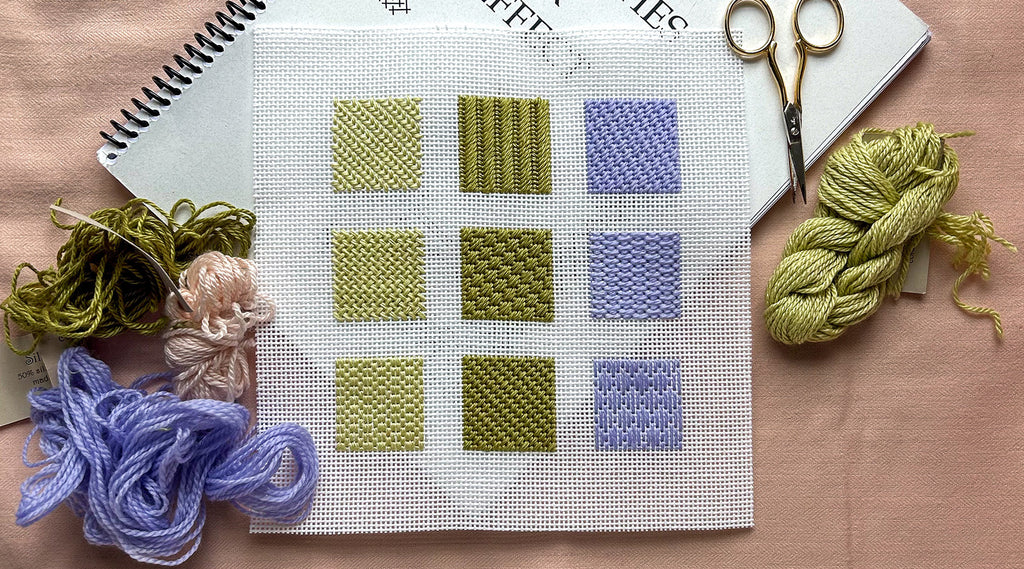
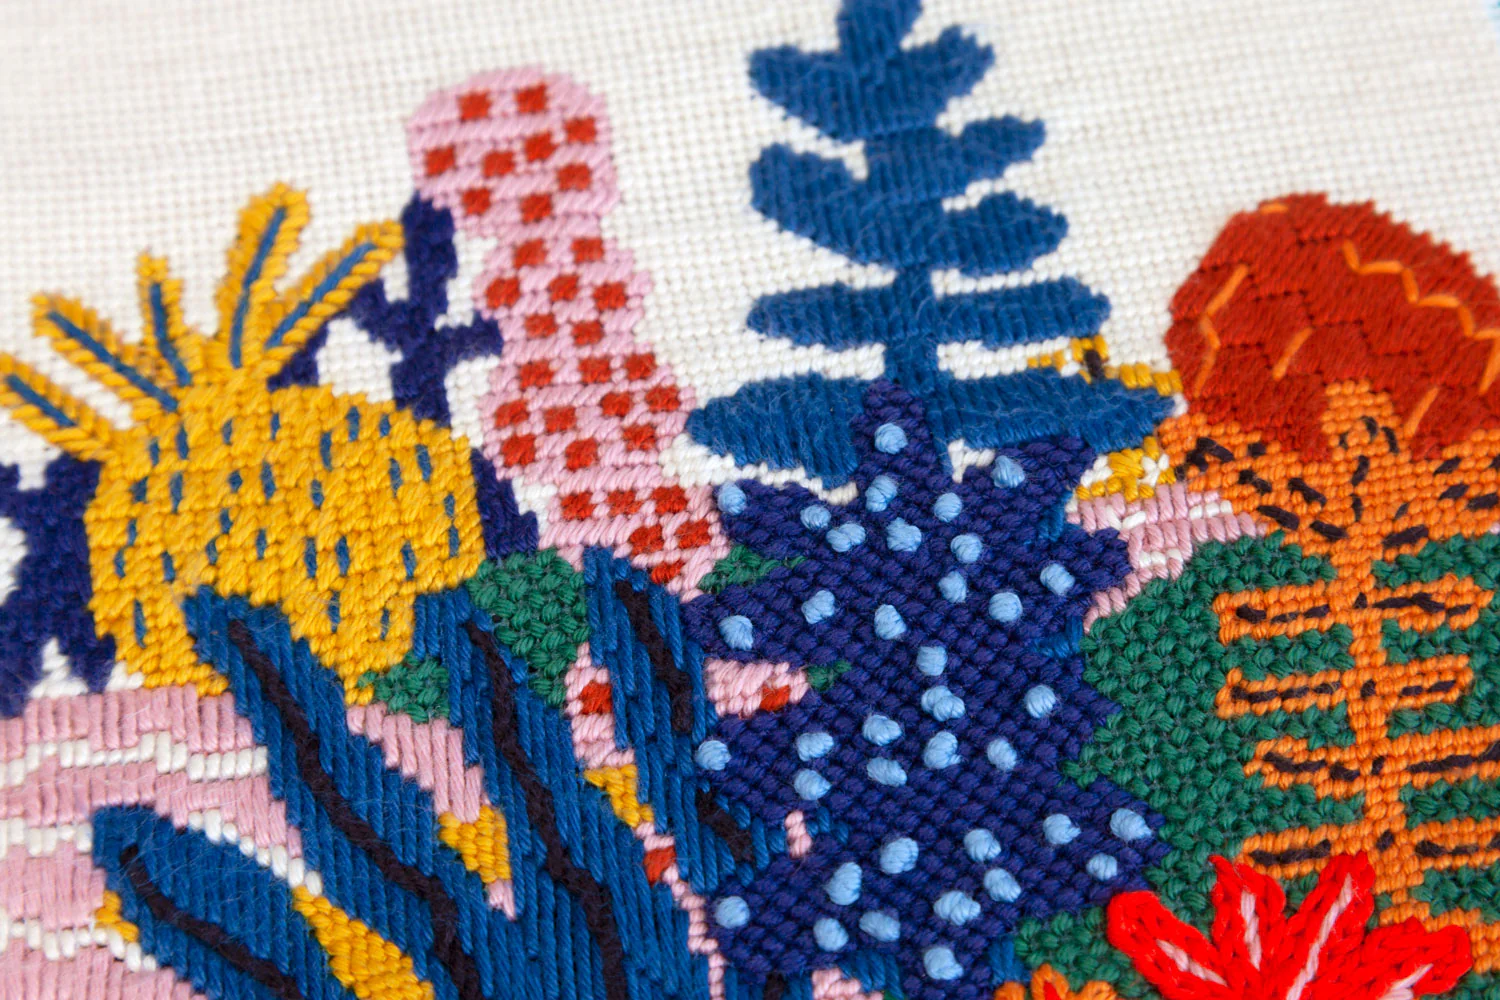
Begin with a tent stitch or basketweave stitch. These stitches are worked diagonally over one square of mesh and are perfect for beginners. Stick to one section at a time so you can focus on technique without getting overwhelmed.
- Tent stitch: Small diagonal stitch over a single mesh intersection
- Basketweave stitch: Similar to tent but alternates direction, reducing canvas distortion
Both are widely used in beginner needlepoint kits.
Step 4: Fill Your Canvas Section by Section

Work in blocks rather than skipping around the canvas. This prevents tangling and helps keep your stitching even. Use a frame or stand if it helps keep your canvas stable.
Step 5: Finish Off and Secure Your Threads

To end a thread, run the needle under several of your back stitches to secure it. Avoid knots, which can create lumps in your finished piece.
Pro tip: Plan your start and end points along color changes or borders to keep things neat.
Common Beginner Mistakes to Avoid
Learning how to needlepoint comes with a few common pitfalls. Here are the biggest ones — and how to avoid them:
-
Pulling thread too tight
- Fix: Keep tension even and relaxed. Over-tight stitching will warp your canvas.
-
Not anchoring your first stitch
- Fix: Always tuck the tail under at least three stitches to secure it.
-
Skipping a hole in printed patterns
- Fix: Check your placement every few stitches to ensure you're aligned with the design.
-
Using too much thread
- Fix: Stick to 18-20 inch lengths to avoid tangles and fraying.
-
Not finishing threads cleanly
- Fix: Secure threads neatly under existing stitches rather than knotting.
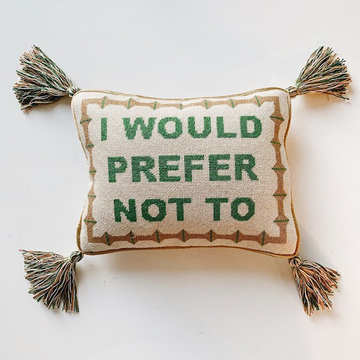
Recommended Beginner Projects
The best way to learn how to needlepoint is to practice on something small and satisfying. Try one of these first:
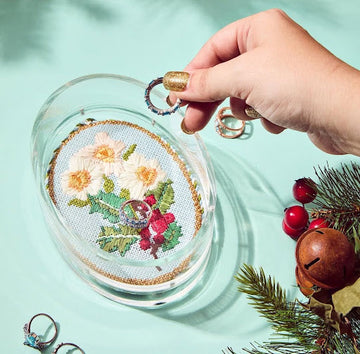
- Holiday Ornaments – Small, seasonal, and easy to complete
- Mini Canvas Designs – Think hearts, animals, flowers, or initials
- Bookmarks – Simple rectangles with lots of customization possibilities
- Keychains or Coasters – Quick and functional
Browse beginner needlepoint kits with pre-printed canvases and all the supplies included.
FAQs
How do I start needlepoint as a total beginner?
Start with a beginner kit that includes a printed canvas, thread, needle, and stitch guide. Use a simple stitch like tent or basketweave and go slow.
Is needlepoint hard to learn?
Not at all. Many people find it easier than embroidery or cross-stitch because the canvas and stitches are more structured.
What’s the difference between needlepoint and embroidery?
Needlepoint uses canvas and fewer stitch types. Embroidery is usually done on fabric like linen and allows for more freehand detail.
Can I use embroidery floss for needlepoint?
Yes, but it’s best for smaller mesh canvases. Wool or perle cotton offer better coverage on typical needlepoint mesh.
Do I need a frame or hoop?
It’s optional. Many beginners stitch without one, but using stretcher bars or a stand can help with tension and neatness.